
Strength and Conditioning Workout for Softball Players
A complete strength and conditioning workout for softball players trains the whole athletic chain in one session: footwork and speed, full-body strength, shoulder and core stability, and sprint conditioning.
The program below runs through speed ladder drills, a warm-up circuit, eight strength supersets, a sprint finisher, and a cooldown.
Doing this consistently, especially in-season, is one of the most effective ways to hit harder, throw farther, and lower your risk of injury.
Softball is one of those sports that looks like it's all skill, but the players who hold up over a long season are almost always the ones putting in work off the field too. Every swing, every throw across the diamond, every sprint to first base asks a lot of your body. And if you're not training for those demands, they tend to catch up with you (usually right around the busiest stretch of the season).
Strength training is, hands down, one of the best things you can do to both play better and stay healthy. I say this all the time inside my sports physical therapy sessions - a strong, well-prepared body is far less likely to end up injured and stuck on the sidelines.
So today, I'm sharing a full strength and conditioning workout built for softball players, with a video demo of every movement so you can see exactly how it's done. And it's designed around what softball actually asks of you.
Why Softball Players Need Strength Training
Here's the thing - softball is rotational, explosive, and repetitive, and that's a tough combination on the body.
Hitting and throwing both start from the ground, travel up through your hips and core, and finish at your hands. If your body can't produce and transfer that power efficiently, two things happen: your performance suffers, and the load has to go somewhere (and that somewhere is often your shoulder or your back).
On top of that, you're sprinting in short bursts, changing direction, and throwing over and over again. Your shoulders and hips take the brunt of it, especially if you pitch.
I see a lot of athletes end up hurt simply because the demand of the season exceeded what their bodies were trained for. Both a solid in-season and off-season strength and mobility program is one of the best ways to close that gap and lower your risk of injury. That's exactly what this workout is built to do.
A Story From One of My Athletes
Working with softball athletes has always been rewarding.
Oftentimes I’m working with these athletes in their high school years when they’re trying to get recruited for college teams. With a scholarship or starting spot on the line, you need every advantage you can get on and off the field. A solid strength and conditioning program, along with a few other things like proper nutrition, sleep, and hydration, does wonders for your performance and helps decrease your risk for injury.
One of my most recent athletes to experience this was Emily. She had a starting spot on her high school’s team, played both outfield and pitcher, but struggled with some shoulder pain that would come and go from week to week.
It started impacting her ability to throw and she was concerned about being able to perform in college and maintain her scholarship. We spent a lot of time working on addressing the shoulder deficits, improved core and total body strength, as well as lower body power. After just a few weeks, the shoulder was pain-free. After several months, she noticed a lot more power with hitting, throwing, and pitching.
She graduated and went on to play on her college team, even starting more than half of the games as a freshman. After she completed her freshman year she stopped by the clinic to say hi. She thanked me for the help and guidance during her senior year in high school, feeling like the work we did really set her up for success as a collegiate athlete.
So, I wanted to share something with you too. I created a sample workout for you to try, just something to start with and get the ball rolling. This workout is specifically designed for softball athletes and targeted at improving total body strength, speed, and power.
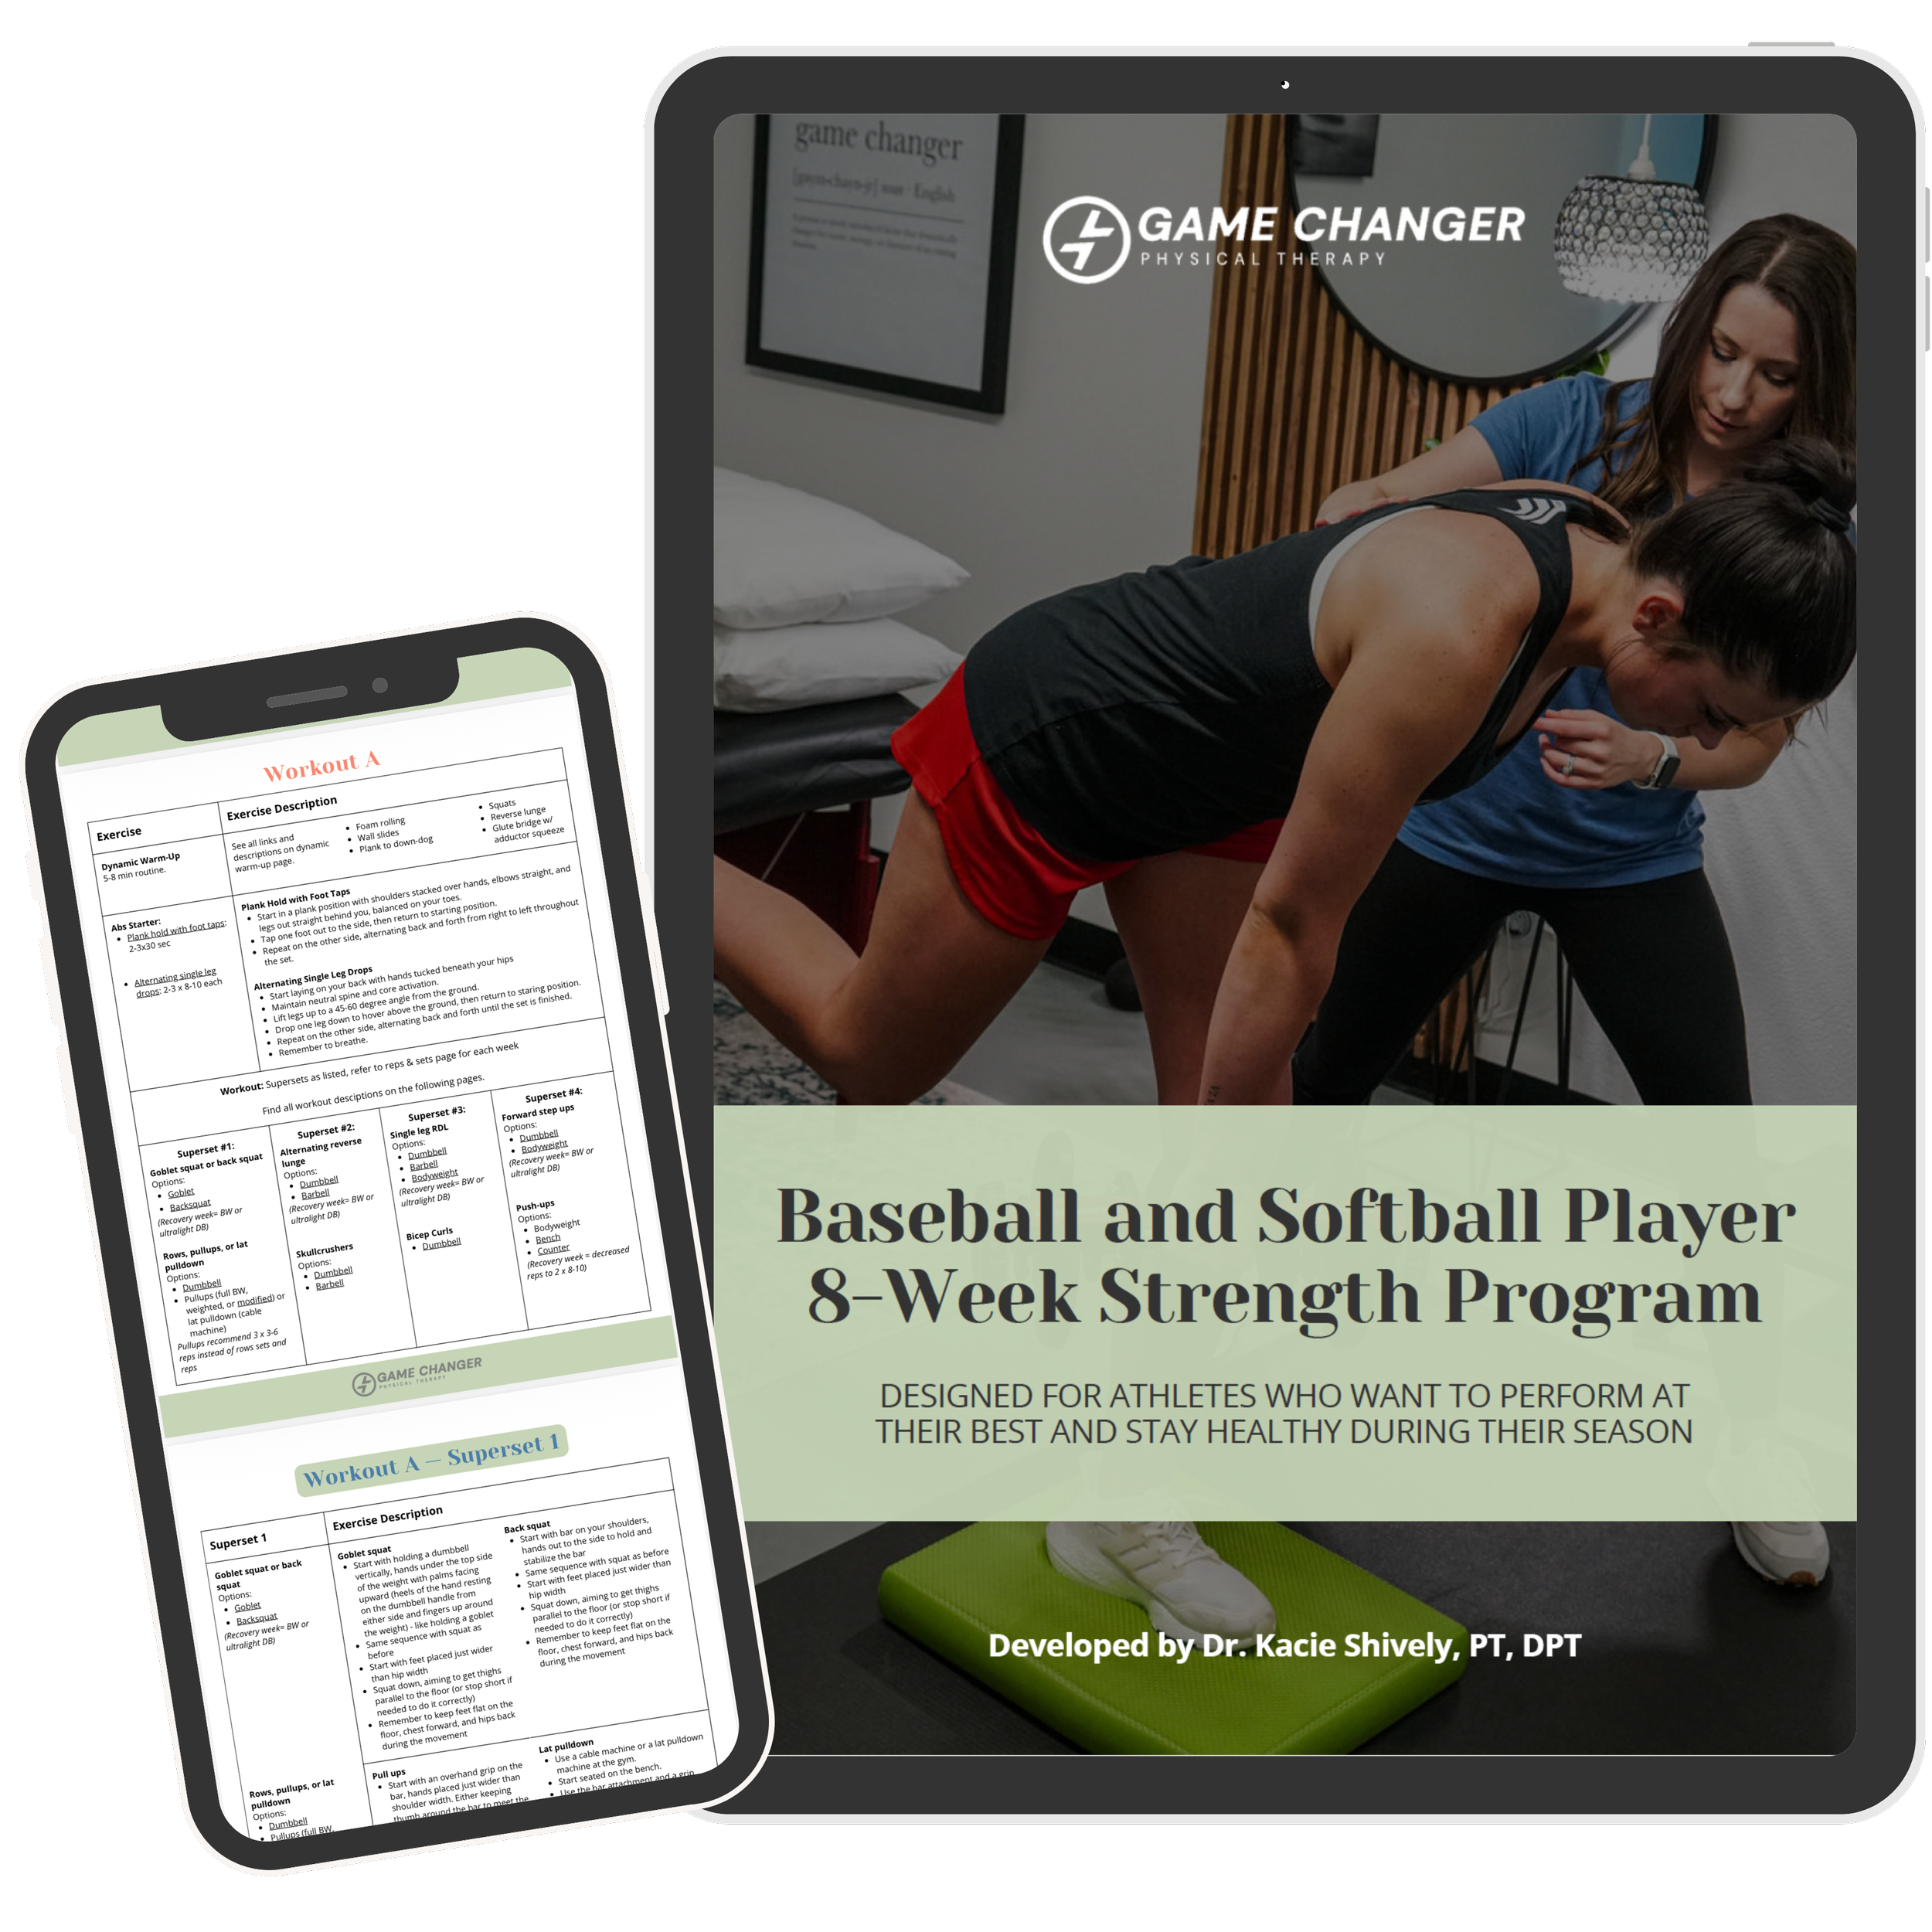
Want a Strength Plan Built for Throwing Athletes?
My 8-Week Strength Program for Baseball and Softball Athletes is a ready-to-follow plan. It builds rotational power and shoulder and hip stability, and it helps you stay durable through a long, repetitive season. There's no guesswork and no adapting a generic gym plan. You just show up and do the workout.
What's included:
3 full-body strength workouts per week (45–55 minutes), at home or in the gym
Built-in progressions and modifications so it meets you where you're at
Written and video tutorials for every exercise
Bonus foam rolling, mobility, and quick 15–20 minute strength routines
Only $147 → [Get the Program]
Now, let's get into it.
The Workout
Part One: Warm-Up
Move through these as a circuit, 10 reps of each, to get the whole body ready before you load up.
Squats
Start with feet placed just wider than hip width
Squat down, aiming to get thighs parallel to the floor (or stop short if needed to do it correctly)
Remember to keep feet flat on the floor, chest forward, and hips back during the movement
Repeat
Leg drops
Start on your back with hands tucked under your hips
Keep core activated to maintain a neutral spine (don’t press low back into the ground too hard or allow your mach to arch)
Start with legs raised to about 60 degrees above the ground
Gently drop one leg toward the ground and then return to starting position
Perform on the other side, alternating back and forth
Reverse lunges
Step back with one foot so that you’re on the ball of the back foot
Shift weight so that it is split equally between the feet
Bend the back knee to drop the knee down toward the ground (stop just short of hitting the ground)
Keep front knee tracking over the foot and ankle (don’t shift weight so far back that the knee is behind the ankle)
Return to starting position and repeat on the other side.
Wall slides
Start standing about 6 inches from the wall with hands on the wall at shoulder level, about shoulder width apart
Rotate hands so that the pinky edge of the hand is on the wall
Keep hands at same spacing apart as you slide hands up the wall toward the ceiling (do not need to keep forearms on the wall during the movement) until elbows are straight.
Then slide back down to starting position and repeat
Push-ups
Perform on the ground if you can, otherwise perform on a counter or bench for optimal modification (preferably not on your knees)
Start with hands placed just wider than shoulder width apart
Bend elbows back at an angle about 45 degrees out from the side of the body and ring your chest toward the ground (bench or counter) until shoulders are at level of your elbows
Then push through the hands to return to the starting position.
Part Two: Supersets
Superset #1: Squats + Dumbbell Bench Press
Squats
Two variations - goblet squat or back squat (choose one)
Goblet squat
Start with holding a dumbbell vertically, hands under the top side of the weight with palms facing upward (heels of the hand resting on the dumbbell handle from either side and fingers up around the weight) - like holding a goblet
Same sequence with squat as before
Start with feet placed just wider than hip width
Squat down, aiming to get thighs parallel to the floor (or stop short if needed to do it correctly)
Remember to keep feet flat on the floor, chest forward, and hips back during the movement
Back squat
Start with bar on your shoulders, hands out to the side to hold and stabilize the bar
Same sequence with squat as before
Start with feet placed just wider than hip width
Squat down, aiming to get thighs parallel to the floor (or stop short if needed to do it correctly)
Remember to keep feet flat on the floor, chest forward, and hips back during the movement
Goblet squat
Back squat
Dumbbell bench press
Grab two dumbbells, one in each hand, and lay down on a bench
Extend both arms straight up toward the ceiling, starting with elbows straight
Slowly lower the dumbbells down toward your chest while allowing the elbows to drop down toward the ground at about a 60 degree angle from the body (elbow not by your side or at shoulder level, aim for somewhere in between)
Push arms straight to return to starting position.
Repeat.
Superset #2: Walking Lunges + Pull-Up or Lat Pulldown
Walking lunges (forward)
Two variations: Barbell on back or with dumbbells in either hand (choose one)
Barbell walking lunges
Keep hips stable during the movement without letting your hip “kick” out to the side.
Start with a bar (either curl bar or straight barbell) on your back, hands out to the side to hold and stabilize the bar
Step forward with one foot - starting with a high knee drive and then full foot contact on the ground. The heel on the back foot is lifted.
Keep weight equal between the front and back legs.
Gently bend both knees and lower your back knee toward the ground, stopping just short of touching the ground.
Drive up through the forward leg and switch to the next side with the same technique. Make sure to drive the knee as your step forward.
Dumbbell walking lunges
Same technique as barbell walking lunges except you’re holding one dumbbell in each hand. Keep hips stable during the movement without letting your hip “kick” out to the side.
Step forward with one foot - starting with a high knee drive and then full foot contact on the ground. The heel on the back foot is lifted.
Keep weight equal between the front and back legs.
Gently bend both knees and lower your back knee toward the ground, stopping just short of touching the ground.
Drive up through the forward leg and switch to the next side with the same technique. Make sure to drive the knee as your step forward.
Barbell walking lunges
Dumbbell walking lunges
Pull-up (or lat pulldown)
Two variations: pull ups or lap pulldown (choose one)
Pull ups
Start with an overhand grip on the bar, hands placed just wider than shoulder width. Either keeping thumb around the bar to meet the fingers or on the same side of the bar as your fingers for an open grip.
Start from a full hang.
Pull down through the shoulder blades and think of pulling the bar to your chest (instead of pulling your body to the bar).
Tip: Feel free to decrease reps to 3-5 while you learn. You may need a back spotter to help as you improve strength. Or start with eccentric pullups (jump up from a box step to the up position - chest to bar- then slowly lower to starting position).
Lat pulldown
Use a cable machine or a lat pulldown machine at the gym.
Start seated on the bench.
Use the bar attachment and a grip that is just wider than shoulder width.
Initiate the movement by pulling down with your shoulder blades, then pull the bar to your chest.
Tip: Avoid arching your back as you pull the bar down, keep core engaged.
Pull up
Lat pulldown
Superset #3: Curtsy Lunges + Shoulder IYT
Curtsy lunges
Start with bodyweight or advance to using weights (ex. weighted using dumbbells in your hand or a light barbell on your back, as described for walking lunges above)
Instead of stepping directly backwards with your back leg, you’re going to cross midline slightly and step behind your front leg.
Keep a slightly shorter stance distance than you would for a full lunge, but this should allow for improved loading.
Dumbbell
Barbell
Shoulder IYT on ball
Start with upper abdomen or chest resting on an exercise ball or a bench.
Think long through the spine from the crown of the head to the base of the sacrum.
Keep elbows soft but straight
Initiate shoulder movement with the shoulder blades, then the arms follow
Do not extend past the plane of your body.
Rotate through the I, Y, and T movements with the arms
If adding weight, start very light, only go up to about 3 lbs maximum
Starting (no weight) -
Advanced (light weight) -
Superset #4: Deadbug + Overhead Press
Deadbug isometric
Start with legs bent to 90 degrees at both the hips and knees (so knees are stacked directly over the hips)
Bring a ball to the knees, holding it with your hands (so hands stack over the hips as well)
Slowly lift opposite hand and knee away from the ball, slightly extending the knee and hip and lifting the arm overhead.
Then return to the starting position and switch sides.
Keep your spine neutral (not smashing the low back into the floor, but also not letting the back arch off the ground)
Single-arm overhead press
Stand with a stable stance through the legs
Start with a kettlebell or dumbbell in one hand
Gently press the arm overhead until the elbow is straight and slowly return to starting position
Do not lean your body in the opposite direction as a counterbalance, use your core to stabilize as the arm moves overhead.
Repeat all reps on this side, then switch sides.
Part 3: Finisher
Sprint progression — 100m x 3 Run three 100m sprints at building intensity: one at 50%, one at 75%, and one at 85%.
This helps you warm up and work into top end speed. Easiest to perform on a track where there are markings on the ground, but can be done anywhere that you have a clear, unobstructed path to run. Use cones for a visual signal of distance with running.
Do 3 sprint progressions in a row.
Start with 50% intensity and speed, but utilizing proper form, knee drive, and arm swing. Work on step turnover and cadence.
Walk back to the start for recovery.
Then do the same run at 75% intensity.
Walk back to the start.
Repeat the same run with 100% intensity.
Sprints — 50m x 5 at 100% intensity Five all-out 50m sprints. Walk back to the start between each one for recovery.
This time you’re going to do 5 all-out sprints, but we’re cutting the distance in half. Use the area you did your 100m sprint progression, but put another cone at the halfway point (50m mark). This is your new race track.
Start with a sprint, giving your full speed effort from start to finish.
Walk back to the start line. You should feel fully recovered before starting your next sprint.
Repeat until all 5 sprints are completed.
Part 4: Cool Down
Easy 400m Finish with an easy 400m at a relaxed pace to bring your heart rate back down to within 15-20 bpm of your starting heart rate.
A Quick Note Before You Dive In
A couple of things I tell all of my athletes.
Start lighter than you think you need to, and nail your form before you start chasing heavier weights. Good technique is what makes this stuff actually work, and it's what keeps you safe while you do it.
And listen to your body. Normal muscle soreness after a hard session is expected. Sharp pain, or pain that lingers and shows up every time you train or throw, is not. Here's my policy - if in doubt, get it checked out. Always. Pushing through pain is how a small issue turns into a season-ending one.
Where to Find a Sports Physical Therapist in Kennewick
If you're local to the Tri-Cities and you want a strength program built specifically for you, your position, and your goals, I'd love to help. I work with softball and baseball players (and athletes of all kinds) on both performance and recovery, including manual therapy, dry needling, scraping, cupping, and more, right here in Kennewick.
If you want to start with a personalized assessment, let's talk.
How to Work With Me From Anywhere
There are a few virtual options to work with me and more to come in the future. To be notified when I open up virtual coaching and customized strength programming, join the interest list below!